
Outdoor condenser coils are fair game for careful homeowner cleaning; indoor evaporator coils usually aren't, and calling a licensed technician is the safer call there. Before touching either one, cut power at the outdoor service disconnect and the indoor breaker. Stick to a garden hose, a soft brush, and a foaming or self-rinsing coil cleaner. Skip the pressure washer and skip anything acidic.
TL;DR:
- Homeowners can safely clean outdoor coils with a garden hose and non-acidic cleaners, but should call a technician for internal or heavily corroded coils.
- Visual signs like debris, bent fins, and performance issues such as increased energy bills or ice formation indicate the need for cleaning.
- Deep cleaning is recommended if oily residues, mold, or corrosion are present, or if refrigerant lines are involved, requiring professional service.
- DIY cleaning should include disconnecting power, clearing debris, gentle rinsing, applying foam cleaners, and straightening fins; avoid pressure washers and household degreasers.
- Indoor coil maintenance is limited to filter replacement, dust vacuuming, and condensate pan cleaning; major cleaning or refrigerant work must be performed by a professional.
Table of Contents
- How Do I Know If My Heat Pump Coils Are Dirty?
- When Should You Call a Pro Instead of Cleaning It Yourself?
- What Tools and Cleaners Do You Actually Need?
- How Do You Clean an Outdoor Condenser Coil Step by Step?
- Can You Clean the Indoor Evaporator Coil Yourself?
- How Often Should You Clean Heat Pump Coils?
- What I've Learned Watching DIY Coil Cleaning Go Wrong
- Skip the Guesswork With a Professional Deep Clean
- Sources
- FAQ
How Do I Know If My Heat Pump Coils Are Dirty?
Start outside. Matted leaves, grass clippings, cottonwood fluff, or bent and crushed fins on the condenser coil are the clearest signs that it is overdue for a rinse. Inside, a dust film on the coil face, a musty smell coming from the vents, or noticeably weaker airflow point to buildup on the evaporator coil.
Performance changes tell you almost as much as a visual check. Watch for:
- Longer run times or a system that seems to cycle constantly without satisfying the thermostat
- A jump in your energy bill with no change in weather or usage
- Weak airflow at the supply vents even with a clean filter
- Ice forming on the outdoor coil during normal heating operation
You can safely eyeball the indoor unit through the return grille or filter slot without removing panels. If you can't see the coil without unscrewing anything or reaching past exposed wiring, stop there. That's a job for someone trained to open the cabinet safely.
When Should You Call a Pro Instead of Cleaning It Yourself?
DIY coil cleaning has real failure modes. Electrical shock is possible if power isn't fully cut. Refrigerant lines run close to the coil on both sides of the system, and puncturing or bending one is expensive and dangerous. High-pressure spray flattens fins in seconds, and manufacturers frequently warn that improper cleaning voids the warranty outright. Trane's own guidance recommends a professional inspection whenever there's doubt about whether a coil needs more than a basic rinse.
Certain conditions are a hard stop for DIY work:
- Oily residue on or around fittings, which usually means a refrigerant leak
- Heavy corrosion or pitting on the coil fins
- Visible mold or a slimy biofilm layer, especially in the condensate pan
- Any job that requires pulling the coil out of the air handler
- Indoor work that would expose refrigerant lines or electrical connections
Industry practitioners increasingly treat deep cleaning as its own service, separate from a routine filter swap, because it targets biofilm and internal buildup that a simple rinse leaves behind. Cold-climate systems built around detailed heat-loss calculations often use one-time deep cleaning and annual plans scoped to catch these conditions before they turn into a compressor problem.
What Tools and Cleaners Do You Actually Need?
Buy once and you're set for years. The list is short:
- Work gloves and safety glasses
- A fin comb sized to your coil's fin spacing
- A soft-bristle brush (not wire)
- A garden hose with an adjustable, gentle spray nozzle
- A wet/dry shop vac
- Towels and a drip pan
- A basic screwdriver set for the top grille
For cleaners, look for labels that say "non-acidic" and "self-rinsing" or "no-rinse." Foaming coil cleaners work well outdoors because they expand into the fin channels and rinse off with plain water. For indoor evaporator coils, a no-rinse formula matters more, since you're not trying to flush water into an enclosed air handler. Skip anything from under the kitchen sink. Household degreasers and bleach solutions can pit aluminum fins and corrode copper tubing over time, a point InspectApedia's coil-cleaning guide makes repeatedly when comparing acceptable methods to homemade shortcuts.
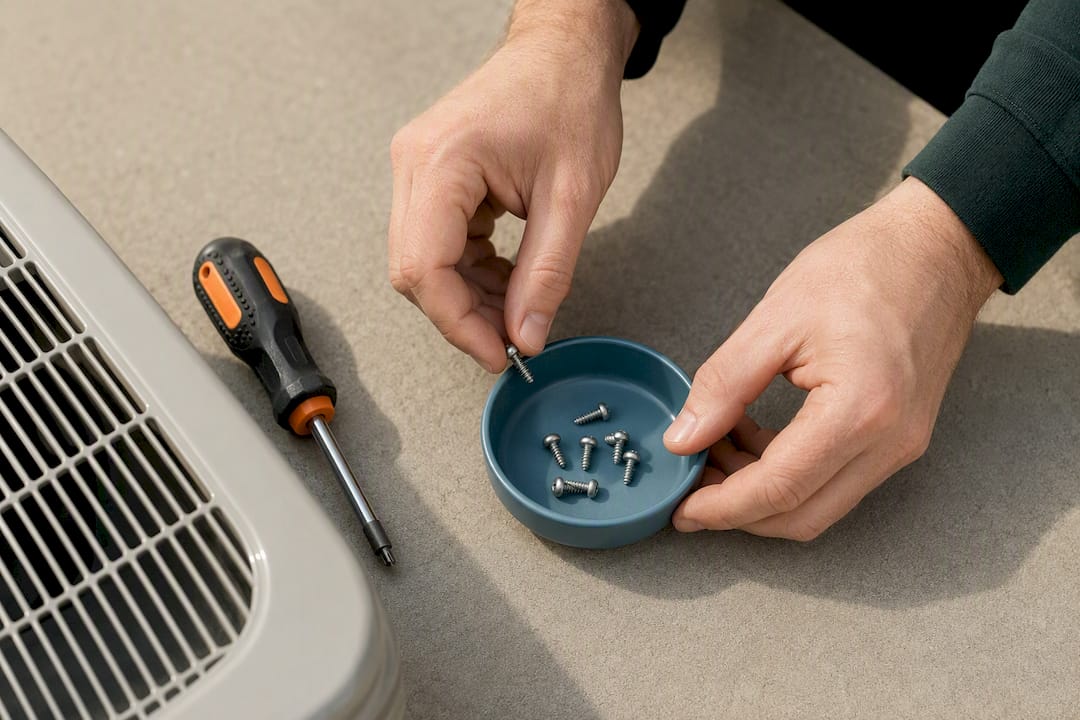
Pro Tip: Keep a small container just for the screws from the top grille. It sounds trivial until you're standing outside with eight identical screws and no memory of which hole each one came from.
How Do You Clean an Outdoor Condenser Coil Step by Step?
This is the DIY-friendly half of heat pump coil cleaning, and most homeowners can do it in under an hour once they've done it once.
- Kill the power. Flip the outdoor disconnect and the breaker inside your panel. Confirm the unit is dead before touching anything, and jot down the model number from the nameplate in case you need parts or a technician later.
- Clear the area. Rake away leaves and debris, and trim vegetation back to at least two feet of clearance on all sides. Room to breathe matters more than most people assume; it's why the Department of Energy lists clearing debris as one of the basic maintenance actions homeowners can handle themselves.
- Remove the top grille or fan shroud if your unit allows it and you're comfortable doing so. Set the fan aside gently and protect the motor and wiring from spray.
- Brush loose debris away, working with the natural direction of airflow rather than against it.
- Rinse from the inside out with a garden hose on a moderate setting. Never use a pressure washer. The force flattens fins and can drive water into places it shouldn't go.
- Apply a foaming coil cleaner per the label, let it dwell for the stated time, then rinse gently from top to bottom.
- Straighten minor bent fins with a fin comb matched to your fin spacing. Don't force it.
- Clean the base pan, clearing any standing debris or sludge at the bottom of the unit.
- Let everything air dry, reassemble the grille and fan, restore power, and run the system for a few minutes to confirm normal operation.
If you spot an oily sheen anywhere on the coil or fittings, or corrosion that goes beyond surface discoloration, stop the job and call a technician instead of pushing forward.
Can You Clean the Indoor Evaporator Coil Yourself?
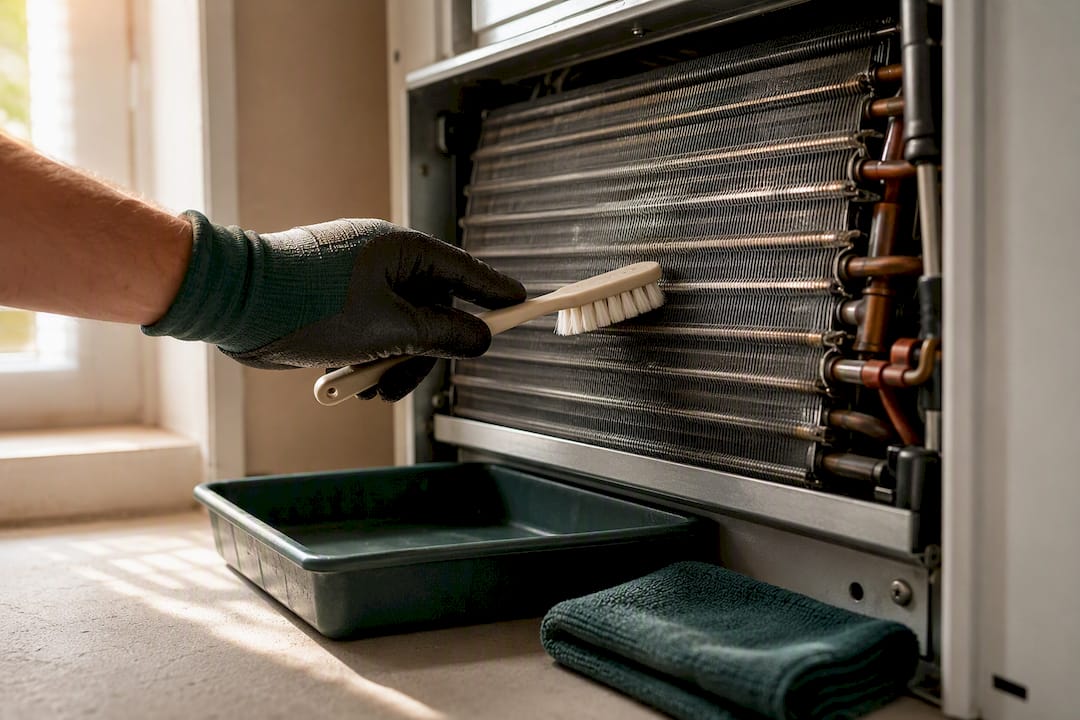
Mostly, no, and the reasons are straightforward. The indoor evaporator coil sits close to refrigerant lines, electrical connections, and a condensate drain system, all inside a sealed cabinet that isn't designed for casual access. Get water into the wrong spot and you're looking at a shock hazard or a drain pan overflow into your ductwork or ceiling.
That said, a few tasks are genuinely safe for homeowners:
- Replacing or cleaning the air filter, which is the single biggest factor in how dirty the evaporator coil gets in the first place
- Vacuuming dust from any accessible, unobstructed surface of the coil face without removing panels
- Cleaning the condensate pan and drain line with a diluted vinegar solution or a labeled condensate-line cleaner
- Applying a no-rinse evaporator cleaner, but only when the label explicitly permits it and there's no risk of runoff reaching electrical components
Everything past that belongs to a licensed technician: removing the coil, handling refrigerant, diagnosing leaks, or scrubbing away established mold and biofilm. That last one matters more than people expect, since deep biological growth inside an air handler tends to need dwell time, containment, and tools most garages don't have.
How Often Should You Clean Heat Pump Coils?
A simple rhythm keeps most systems running efficiently without turning maintenance into a part-time job.
- Rinse the outdoor condenser coil regularly throughout the year, particularly during seasonal transitions such as spring and fall
- Do perform a quick visual inspection several times a year
- Schedule a professional check or deep clean of the indoor evaporator coil approximately once per year
Filter changes run on their own clock, typically every one to three months depending on pets and allergies in the house. Keep at least two feet of clearance around the outdoor unit year round, and avoid mowing debris toward it. Heavy pollen seasons, nearby construction dust, or visible buildup between scheduled checks are all good reasons to move the timeline up rather than wait it out. Professional cleaning cost varies with how accessible the unit is, how severe the buildup has gotten, and whether it's a single-zone or multi-zone system, so a quick on-site look usually settles the price faster than guessing over the phone.
What I've Learned Watching DIY Coil Cleaning Go Wrong
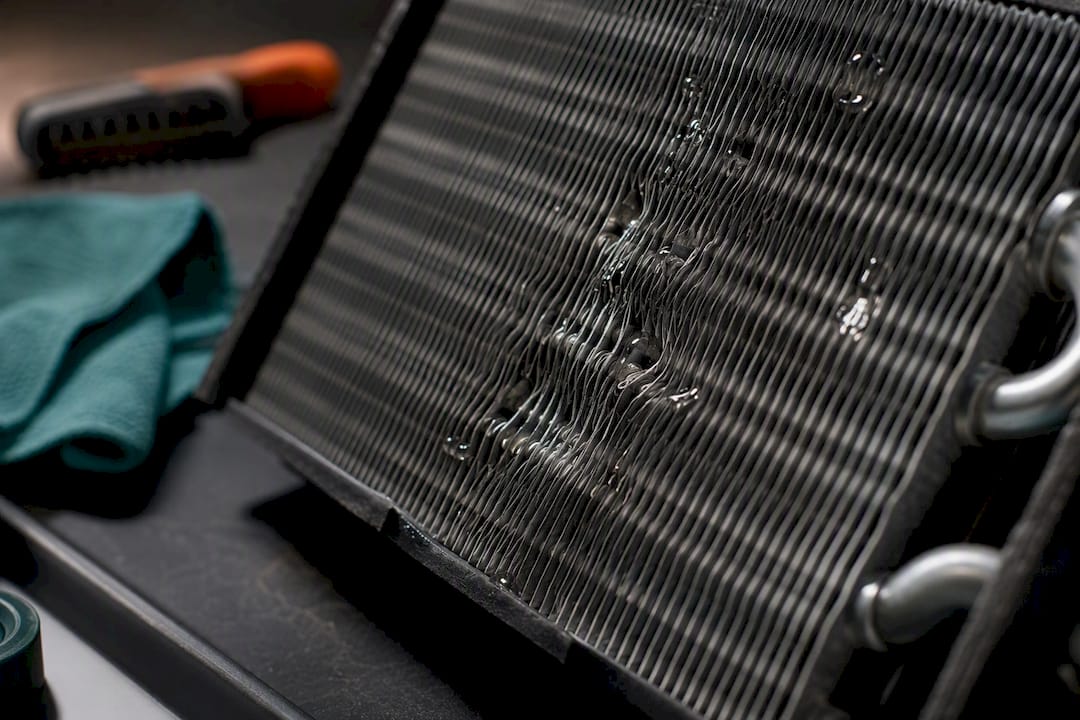
Most DIY coil cleaning mistakes aren't about effort. They're about sequence. Homeowners skip the power-off step because the unit "looks off already," or they grab a pressure washer because a garden hose feels too slow. Photograph the unit before you touch anything, and keep that parts container for screws. It saves more headaches than any cleaner on the shelf.
Technicians see the aftermath constantly: oily residue where a DIY attempt nicked a line, fins crushed flat from a pressure washer, mold sitting untouched in a condensate pan because nobody thought to look there. Hitamaine's technicians are trained to catch exactly those issues during a deep cleaning, which is often why a homeowner's second call comes sooner than the first one did.
— John
Skip the Guesswork With a Professional Deep Clean
If the outdoor rinse feels manageable but the indoor coil has you second-guessing, professional cleaning services fit perfectly. Systems built around real heat-loss calculations for cold winters benefit from technician attention for coils that need more than a simple rinse.

The one-time deep cleaning service, priced from $249, covers the full scope a DIY rinse can't reach, including biofilm removal and a proper look at refrigerant-side components. For ongoing upkeep, the Annual Cleaning Plan runs $219 per year, while the Maine Heat Pump Care Plan at $319 per year adds broader preventive coverage across the system. A good rule of thumb: handle light outdoor rinses and filter changes yourself, and bring in Hitamaine for indoor coil work, refrigerant concerns, or the annual deep clean that keeps a warranty intact. Service is confirmed by ZIP code before any appointment, so check availability and book through the services page when you're ready.
Sources
- A/C Cooling Coil Cleaning Methods — InspectApedia
- EP277 Dirty Little Secret: Why Heat Pumps Need Deep Cleaning — Building HVAC Science (June 2026)
FAQ
How Often Should Heat Pump Coils Be Cleaned?
Rinse the outdoor condenser coil once or twice a year, in spring and fall, and inspect it every three months for buildup. The indoor evaporator coil generally needs a professional check or deep clean once a year to catch biofilm and buildup a routine rinse won't remove.
How Much Does It Cost to Get Your HVAC Coils Cleaned?
Cost depends on unit access, buildup severity, and whether it's a single-zone or multi-zone system, so pricing varies by job. Hitamaine's one-time deep cleaning starts from $249, while its annual plans run $219 or $319 per year depending on coverage.
Is an HVAC Coil Cleaning Worth It?
Yes, in most cases. Dirty coils force the system to run longer and harder to hit the same temperature, and deep cleaning removes the biofilm and internal buildup that a basic homeowner rinse typically misses.
How Do I Know if My AC Coil Is Dirty?
Look for visible debris, matted leaves, or bent fins on the outdoor unit, and a dust film, musty odor, or weak airflow on the indoor side. Longer run times, rising energy bills, and ice forming on the coil during operation are all performance signs worth checking too.